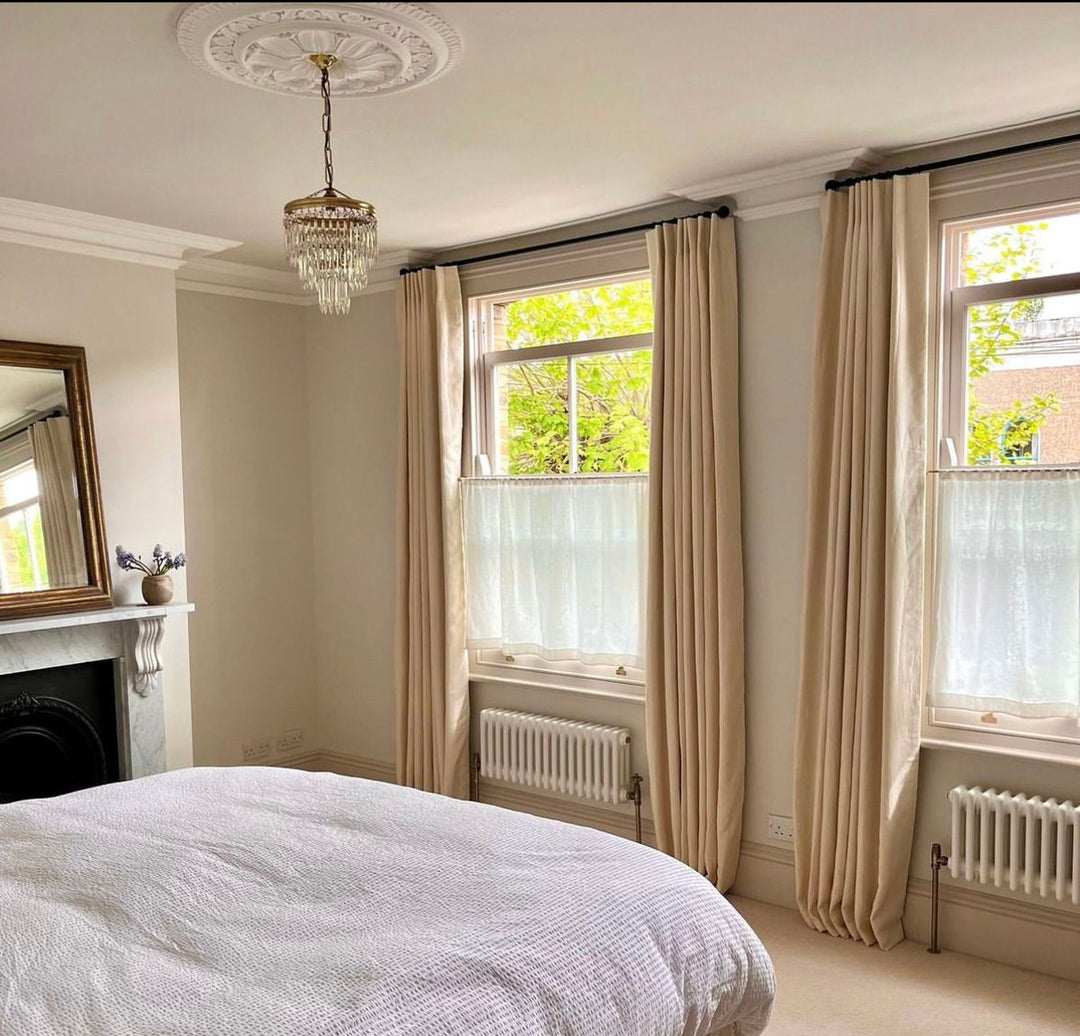
Why Choose Ceiling-Mounted Curtain Brackets?
Ceiling-mounted curtain brackets offer several advantages over traditional wall-mounted options. Here's why you might want to consider them for your next curtain installation:
-
Enhanced Aesthetic Appeal: Ceiling-mounted brackets create a clean, uninterrupted look that elevates the room's decor. This style is particularly popular in modern, industrial, or minimalist homes.
-
Maximized Space: Installing curtains from the ceiling helps create the illusion of height, making the room appear more spacious, especially in rooms with low ceilings.
-
Better Light Control: With ceiling-mounted brackets, you can use longer curtains that cover more of the window, helping control the amount of natural light entering the room.
-
Improved Privacy: Ceiling-mounted drapes offer more coverage, which increases the level of privacy, especially for rooms facing the street.
-
Suitable for Large Windows: Ceiling brackets are ideal for hanging curtains in rooms with large windows or even sliding doors, providing both function and elegance.
Types of Ceiling Curtain Brackets
There are several types of ceiling curtain brackets, each offering different features, materials, and installation methods. Understanding the various options will help you select the best one for your space.
1. Fixed Ceiling Brackets
Fixed ceiling brackets are attached directly to the ceiling, holding the curtain rod in place. These brackets do not move, making them the most secure option for holding heavy drapes.
-
Best for: Heavy curtains or drapes that need additional support.
-
Material Options: Metal, wood, or plastic.
-
Installation: Fixed to the ceiling using screws or anchors.
2. Adjustable Ceiling Brackets
Adjustable ceiling brackets allow you to modify the height or depth of the curtain rod. This option offers more flexibility, especially for spaces where you need the curtain rod to be adjusted regularly.
-
Best for: Rooms with varied ceiling heights or irregular window sizes.
-
Material Options: Typically metal, often with telescoping rods.
-
Installation: Easy to adjust after installation, offering more customization.
3. Track Ceiling Brackets
Track ceiling brackets are ideal for a clean, contemporary look. These brackets use tracks rather than traditional rods, allowing the curtains to slide smoothly along the ceiling. Track systems are particularly beneficial for large windows or when you need to cover multiple windows with one curtain panel.
-
Best for: Large windows or multiple window installations.
-
Material Options: Aluminum, steel, or plastic.
-
Installation: Requires a track system to be installed along the ceiling, with brackets to hold the track in place.
4. Swivel Ceiling Brackets
Swivel brackets are a versatile option that allows the curtain rod to rotate. This function is particularly helpful for curtains that need to be drawn open or closed frequently, such as in living rooms or bedrooms.
-
Best for: Rooms where curtains need to be moved regularly.
-
Material Options: Metal, typically with a ball-joint swivel mechanism.
-
Installation: Mounted to the ceiling, allowing the rod to rotate.
5. Corner Ceiling Brackets
For unique spaces, such as corner windows or rooms with angled walls, corner ceiling brackets are a perfect solution. They allow you to install curtains that span the corner, providing a seamless transition between two walls.
-
Best for: Corner windows, bay windows, or angled ceilings.
-
Material Options: Metal, steel, or reinforced plastic.
-
Installation: Requires precise measurement for correct angle placement.

Material Choices for Ceiling Curtain Brackets
Ceiling curtain brackets come in various materials, each offering its unique benefits. The material you choose will influence the look, strength, and durability of your brackets. Below are some of the most common material choices:
1. Metal
Metal brackets are the most popular option, offering strength and durability. They can support heavy curtains and come in a wide variety of finishes, including brushed nickel, chrome, brass, and matte black.
-
Pros: Strong, durable, and modern look.
-
Cons: Can be heavy, and some finishes may require maintenance to prevent tarnishing.
2. Wood
Wooden ceiling brackets offer a traditional, rustic look. They are perfect for more classic or country-style interiors.
-
Pros: Adds warmth and elegance to a room.
-
Cons: Not as durable as metal and may require more maintenance.
3. Plastic
Plastic brackets are lightweight, affordable, and versatile. They come in a variety of colors and finishes, making them ideal for budget-conscious homeowners.
-
Pros: Affordable and easy to install.
-
Cons: Less durable and may not support heavy curtains.
4. Brass
Brass brackets offer an antique, vintage appearance that works well in traditional or retro interiors.
-
Pros: Elegant, classic, and stylish.
-
Cons: Can tarnish over time and may require regular cleaning.

How to Install Ceiling Curtain Brackets
Installing ceiling curtain brackets may seem daunting, but with the right tools and instructions, it’s a straightforward process. Follow these steps to install your ceiling curtain brackets properly.
Step 1: Measure the Space
Before you install any brackets, it’s essential to measure the dimensions of your window and the desired length of your curtains. Here’s how you can do it:
-
Width: Measure the full width of your window, and consider adding extra inches for the curtains to extend beyond the edges.
-
Height: Measure from the ceiling to the desired length of the curtains. Generally, curtains are hung just above the window frame, but you can choose to hang them higher for a more dramatic effect.
Step 2: Mark the Placement
Using a pencil, mark the spots on the ceiling where the brackets will be installed. Make sure the markings are level and spaced evenly, especially if you are installing multiple brackets for a longer curtain rod.
Step 3: Drill Pilot Holes
Drill pilot holes at the marked spots, ensuring the holes align with the ceiling joists or studs. Use an appropriate drill bit based on the size of the screws or anchors.
Step 4: Install the Brackets
Once the pilot holes are drilled, install the ceiling brackets using screws or anchors. Ensure the brackets are securely fixed to the ceiling before proceeding.
Step 5: Hang the Curtain Rod
After installing the brackets, slide the curtain rod through the brackets and adjust it to the desired position. Make sure the rod is level and securely attached to the brackets.
Step 6: Hang the Curtains
Finally, hang your curtains on the rod and adjust them as needed. Use curtain rings or hooks if necessary to ensure the curtains hang smoothly.
Styling Your Ceiling-Mounted Curtains
Now that your ceiling curtain brackets are in place, it’s time to style your curtains to match your home décor. Here are some ideas for styling:
-
Use Bold Patterns: Opt for bold, dramatic patterns or vibrant colors to make a statement.
-
Layer Curtains: Layer sheer curtains with heavier drapes to create depth and texture in the room.
-
Add Tiebacks: Use decorative tiebacks to pull the curtains to one side for a more open and airy feel.
-
Choose the Right Fabric: Select fabrics that complement your interior style. Linen and cotton work well for casual, airy rooms, while velvet or silk adds luxury.
Maintenance and Care for Ceiling-Mounted Curtains
Maintaining your ceiling-mounted curtains is crucial to keep them looking fresh and functioning properly.
-
Cleaning: Follow the manufacturer’s cleaning instructions for both the curtains and the curtain brackets.
-
Dusting: Regularly dust the curtains and brackets to prevent dirt buildup.
-
Check for Looseness: Periodically check the brackets to ensure they are still securely mounted.
Conclusion
Ceiling-mounted curtain brackets are an excellent way to add style, functionality, and elegance to your home. Whether you’re covering a large window, creating a dramatic effect with high ceilings, or simply looking for a sleek, modern solution, ceiling-mounted brackets


